Sunday, October 24, 2010

Anniversary & Birthday Cards: Paint the Town Red

This is what happens when all I have is a small collection of card stock colors and Anniversaries and Birthdays coming up.

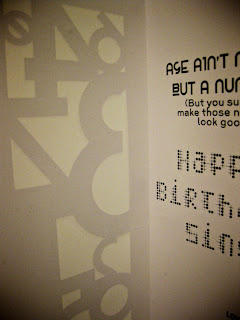
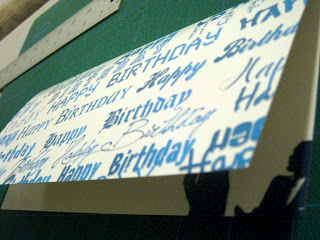
First up is the Birthday Card. Totally loving the Silhouette numbers.


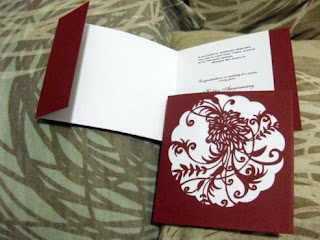
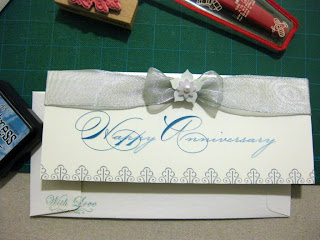
And here we have the Anniversary cards. Again, loving the laser cut images courtesy of my new Silhouette. You can see some of the flaws due to my impatient. Pulling vs. patiently x-acto kniving.

Friday, October 22, 2010

Monday, October 18, 2010

Silhouette SD Imports: How to create custom die cuts

Thank goodness for helpful blogs like Rhonna's. I see I'm not the only one that's madly in love with my Mac and Silhouette SD.
I first read about the Silhouette machine on Twig & Thistle and after about a week of holding out, I placed my order. It's been about two weeks since I've gotten it but up until today, I've only used the Silhouette Studio. I guess it must have been perfect timing based on reading all the reviews because the compatibility with Mac is something recent.
What Silhouette Studio is still missing though is the auto trace tool. Being in the technology field, I know THERE HAS TO BE ANOTHER WAY! So the fabulous world wide web told me that using Adobe Illustrator and a nifty plugin called Cutting Master 2 Robo v1.80, I too can create my Silhouette cutouts!

Pre-requisites:
1. Install the Silhouette machine
2. Install Adobe Illustrator
3. Install the Cutting Master 2 Robo Plug-in

Steps:
1. Follow all steps up to Step 4a on Rhonna's blog
2. Drag and drop your jpg or png file to Illustrator
3. Use the Selection Tool to resize the image (TIP: Hold SHIFT when dragging from corners to keep aspect ratio)
4. Select the image
5. Go to 'Object -> Live Trace -> Make and Expand
6. After paths are automatically created, right click on one of the plot paths and select 'Ungroup'
7. Use the Direct Selection Tool to select paths created around the border of the image
8. Follow step 4c on Rhonna's blog

Here's a Halloween inspiration idea from Tim Holtz!


References:
Cutting Master 2 Robo v1.80 (Plug - in for Adobe Illustrator)

My configurations:
Mac OS X 10.5.8
Adobe Illustrator CS5
Cutting Master 2 Robo v1.80
**if you have Adobe Illustrator CS4, download Cutting Master 2 Robo v1.61 directly from Silhouette America's website

Wednesday, October 13, 2010

Welcome Home

My aunt and uncle are movin on up...

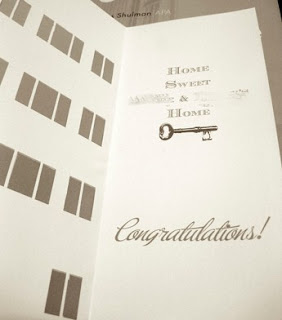
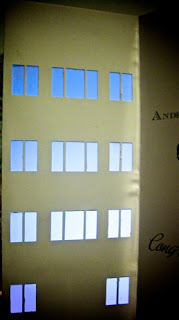
So in celebration of their new home away from home, I put my new Silhouette to work. In are a bunch of rectangles, out comes a mini condo building.

It's an 8.5" x 11" brochure paper which I printed, cut, and folded into a tri-fold. Then velum paper was glued between the first two folds. It was tough getting the paper to crease at the right places because the windows were so close to the edge. To avoid ripping the cut out window panes, I place a hard cover book over one side, then slowly folded over the free side. It's on boring white paper, but, I guess I can live with white chic for now.


Friday, October 8, 2010

Fun with Fonts Friday: Birthday & Anniversary cards

Hurray! My printers back in commission thanks to my sis who bought a new black ink cartridge. It was too easy of a solution but, I'll take it!
Pop-up Spongebob is 1/2 way done but I had to quickly whipped up a birthday card and an anniversary card for calendar events that are quickly approaching. The result - more fun with lots of fonts!


Wednesday, October 6, 2010

It's Not Alive!: Printer go bye bye

I am so bummed. This is probably what I deserve for being too lazy and not caring enough about my leaky ceiling from the freak storm last week.
Last night when I tried to print my DIY Spongbob pop-up card for D's nephew, my printer, which happened to get dripped on, gave me a weird error. What do you mean "Remove and check cartridge on right"???
Please printer Gods, bring my HP photo printer back to life! My crafts depend on you! Should I try to make a Grilled Jesus and pray like Fynn did on Glee last night?

Anyway, before I discovered my comatosed printer, I was creating a Spongbob pop-up card template using one of the papercrafts as a baseline. Spongebob obviously also had to have a message to deliver so Google led me to some cool sites that have Free Speech Bubble Brushes for GIMP, Spongebob fonts and Disney fonts. I had to brush up on how to install brushes into GIMP but in the end, i'm happy with the results. Now, if only I could print the damn thing! No printed project, no pictures. :-(